All Outdoors Staff 06.15.26

You bought the carrier, you bought the plates, and now you’re standing over a pile of nylon and Velcro wondering where exactly everything goes. The setup that works for a range day is not the maxed-out combat rig you see in photos. It’s light, simple, and built so you can reload, go to the barricade, and drop prone without having to fight with your own gear.
| short version
First set the fit, placing the top edge of the front plate about two fingers below your collarbone. Mount rifle magazines on the center line, oriented to your reload. Place your IFAK on your support side and any comms or pistol mags on your dominant side. Keep the weight balanced towards your body. A range rig usually ranges from 15 to 30 pounds, depending on whether you run polyethylene or ceramic plates. And under the 2026 NIJ standard, those plates are now labeled RF1, RF2, and RF3 instead of Level III and IV, which changes what you actually need. |
The rest of this guide explains the carrier in full: fit, plate selection, building the platform, loading it for the range, and a handful of mistakes that quietly waste your time.
Fit First: Plate Position and Waistband Tension
Before even a single bag can be moved, the bearer must sit on the right side. Fit is the part that decides whether your plates actually cover what they should and whether you can shoot well in that thing.
Start with the front plate. The top edge should be at your sternal notch, the small dip at the base of your throat, which places it about two fingers below your collarbone. The bottom portion should land around your navel. Too low and you leave your heart exposed while the plate gets in the way of your rifle. Too high and it digs into your chin and exposes your liver. The back plate mirrors the front, sitting at the same height so that your spine and the area behind your heart are covered.
Now the waistband. Keep holding it until you can slip a flat hand, but not a closed fist, between the strap and your body. The carrier should not move more than about an inch in any direction as you move. Then do a quick mobility check: Take a deep breath, raise both arms fully, and shoulder your rifle. If the plates lift up or the carrier restricts your breathing, loosen or reposition until it is stable and you can move freely.
One thing almost no one takes into account: the fit you set in the parking lot may not be the fit you have an hour later. As you heat up, sweat and shed a layer, the carrier becomes loose. Set it a little loosely, break it into motion the first few minutes, and re-check the cummerbund after the first string of fire rather than relying on how cold it felt.
Choose your plates: NIJ levels, ingredients, and real-world weight
The plate you put in that pocket drives two things at once: how much protection you have and how much weight you carry throughout the day. This is where a lot of range shooters overbuild.
Most carriers take standard 10 by 12 SAPI plates. Two common cuts are the shooter cut, which chamfers the top corners so the rifle stock has clearance, and the swimmer cut, which further narrows the top to free up your shoulders. Either is fine for range work, and the shooter’s cut is the safe default.
Ratings changed, and that matters. As of the 2026 NIJ 0101.07 standard, the old Roman-numeral levels are being replaced with rifle (RF) and handgun (HG) designations. RF1 is basically the old Level III. It stops common rifle balls such as the M80, 7.62×39, and M193, but it does not automatically stop the 5.56 M855 Green Tip. RF2 is brand new. This is the intermediate level that formalizes what the manufacturers used to call “Level III+”, and it officially adds the M855 green-tipped steel-core round to testing. RF3 is the old Level IV, .30-06 M2 armor-piercing test, renamed with no change to the actual standard. Armor certified to the old 0101.06 standard remains valid until 2027, so you’ll see both sets of labels on shelves for the next few years. Practical Conclusion: RF2 answers the M855 question that RF1 left open, and it does so without the weight of the RF3 plate.
Content is where the weight resides. Polyethylene plates, often called UHMWPE or just poly, run about 3 to 4.5 pounds each, float in water, and handle multiple attacks well, but they can’t stop armor-piercing rounds. Ceramic is heavy, about 6 to 9 pounds for each RF3 plate, but it will hold up to the AP. Steel is the cheapest and heaviest, and requires spall coating so that pieces don’t spray on impact.
Keep it a real number. A light poly two-plate rig with a few magazines and a small IFAK is about 15 pounds. A loaded Ceramic RF3 build with full mag, an IFAK, and comms regularly reaches 28 to 30 pounds. On a three- or four-hour limit day, a difference of 13 to 15 pounds is the line between dialed-in reps and quitting early because your shoulders are ready.
| Material | weigh each | AP stops? | multi hit | range-day note |
| Polyethylene (UHMWPE) | ~3 to 4.5 pounds | No | strong | Lightest, floating, forgiving in transportation |
| porcelain | ~6 to 9 lb (RF3) | yes (RF3) | good, then it gets worse | Required for AP, heavy and fragile when dropped |
| steel | ~7 to 8 pounds | No | Good | Cheapest, heaviest, needs spall coating |
For training and range work, the lighter RF1 or RF2 poly is usually more useful than RF3 ceramic. Save the armour-piercing-rated bricks for defensive rigs that you place on the stage and rarely move. Most people buy more plates than their daily requirement.
Dial in to your carrier and panel
With the plate selected, seat it and put the carrier away so the whole thing behaves like one piece of gear rather than a loose vest.
Insert each plate with the strike facing out. Follow the markings, as the plates are stamped with “top” and “out on this side”, and most single-curve plates will only sit comfortably on one side. Set the top edge in the same position you dialed in during the fit step, then close the retention flap or strap so the plate can’t move up or to the side as you move. Thread the waistband through the channels of the carrier and set the overlap so the adjustment point is at the front, where you can reach it without help.
Something to consider before committing to a layout: Many modern carriers use placards or quick-attach front panels. This means a carrier can run a stripped-down range placard one day and a fuller loadout the next without having to rebuild the entire thing. Scalable carriers that accept both soft armor panels and rigid plates extend that flexibility even further. If you want a complete step-by-step guide on configuring the carrier and panel, check out this guide Installing a Plate Carrier Let us explain this in detail.
Once the platform is built, the only decision left is what will actually be ridden on it for a range day. This is where most setups go wrong.
Range-day load order: what goes where (and what to leave out)
The range rig is not a patrol rig. The goal is to have enough gear to run your exercise and not have anything that will slow you down or create obstructions while you’re running.
The three rules cover most of it. Keep your most-used items within your easiest reach. Place the heaviest objects toward the center line so they don’t put pressure on the harness and throw you off balance. And place your medical where your supporting arm can be blind, because if your dominant arm is the only one injured, your supporting arm is doing the work.
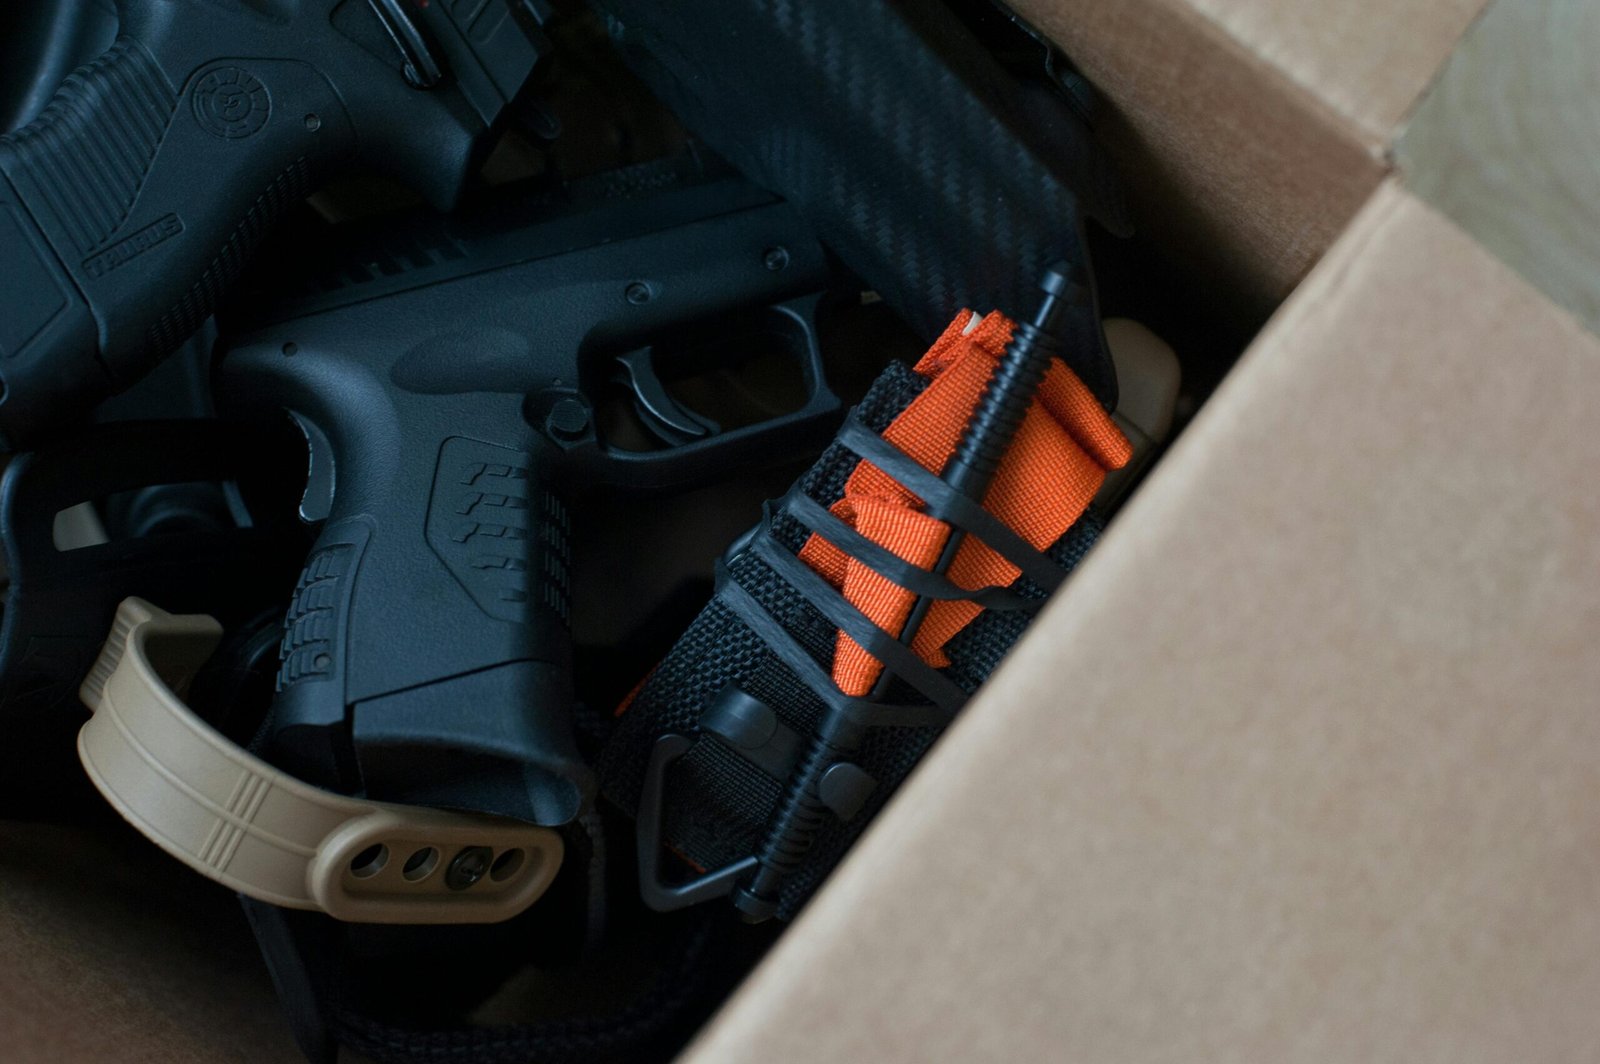
rifle magazines Go to the front and center line. Orient them just as you would actually index a magazine when reloading it. Most shooters run the bullets down or at an angle to follow the curve of the body so the supporting hand can sweep them naturally, and camp matters less than picking one and running it every time. A standard front placard holds three AR magazines together, which is enough for most range work.
Your IFAK Goes on your support side, next to the waistband, accessible with both hands. Never put it on your back. You have to find it without looking and reach it yourself.
your dominant side Where do the pistol’s magazines or comms go if you run them.
Here’s the part people skip: take it off. Skip the radio, breach equipment, admin panel full of cards, and the third row of magazines. Carry everything you would use in your practice: usually flames, enough mags for your healing, and nothing that gets caught when you move or crouch behind a barricade. Every pound you have left at home is one more rep you can clean off before fatigue starts to ruin your form.
Once it loads, plug it in and move on. Turn, crouch, shoulder the rifle and confirm that nothing pulls you off center. If this happens, shift the weight back toward the middle until it is balanced.
Mistakes That Slow You Down
Most setup mistakes do not announce themselves. They just silently make you waste a second here and a second there in reloading, until you wonder why your friend is always ahead. These are what appear on the watch.
- A rear-mounted IFAK. If your medical is on your back, under stress it is invisible and inaccessible, and it is useless if you are alone. Move it to your support side, to the front.
- The plates are too low. A plate moving downwards exposes your heart and knocks out your rifle mount, breaking the weld on your cheek. Reset the top edge to your sternal notch.
- Inconsistent magazine placement. If your mag moves from one session to the next, each reload becomes a quest. Pick a direction and a location and never touch it again.
- Overloading the rig. 30 pounds of kit set up like a patrol loadout slows you down and tires you out on a day when you’re exercising, not patrolling. Strip it as required by the drill.
- It is advisable to rely on parking-lots. As you warm up and sweat through your base layer, the carrier becomes loose. Double-check the cummerbund after the first fire, not just when you put it in a cool place.
- Throwing a ceramic rig in the truck bed. This is specific to ceramics. A ceramic plate dropped into a corner may first shatter internally with no visible damage on the outside, and then fail from a multiple-hit. Transport it padded, inspect it after any falls, and remember that poly is far more forgiving of gear thrown around.
Plate Carrier Setup FAQ
Do I need RF3 (Level IV) plates for the range?
Usually not. RF1 or RF2 polyethylene is lightweight and fine for training and practice. Save the RF3 ceramic for a phased defensive rig where stopping armor-piercing rounds really matters.
Which way should rifle mags face?
Consistency matters more than factionalism. Most shooters fire them downwards or at an angle to make the bullets follow the curve of the body for support-hand reloads. Pick one and never change it.
How heavy is a typical range rig?
Approximately 15 pounds for lightweight polyethylene construction, up to approximately 30 pounds for fully loaded ceramic RF3 construction. Plate material makes the most difference.
Can I exercise or train in the plate carrier?
Yes, weighted training is common in a carrier. Use your plates or dedicated training weights, keep the load balanced, and pay attention to your posture so you don’t overload your lower back.
Polyethylene or ceramic for range use?
Polyethylene for weight and durability when carrying and dropping gear. Ceramic when you specifically need armor-piercing or RF3 protection.
What is the difference between RF1, RF2 and RF3?
RF1 is roughly the older Level III, RF2 is the newer intermediate level that adds the M855 green tip, and RF3 is roughly the older Level IV for the armor-piercing rifle round.