Bikes are the ultimate mode of single-passenger urban transportation due to their relatively small footprint, high agility, good speed, long lifespan, and low startup costs. With the growing popularity of e-bikes, traveling by bicycle is becoming more accessible, and bikes can be used for both recreation and exercise when you’re not traveling with them. They shine for recreational sports like long-distance cycling and mountain biking. Plus, there’s something special about hopping on a bicycle and knowing that you’re more energy-efficient than any other animal on the planet. how cool is that?
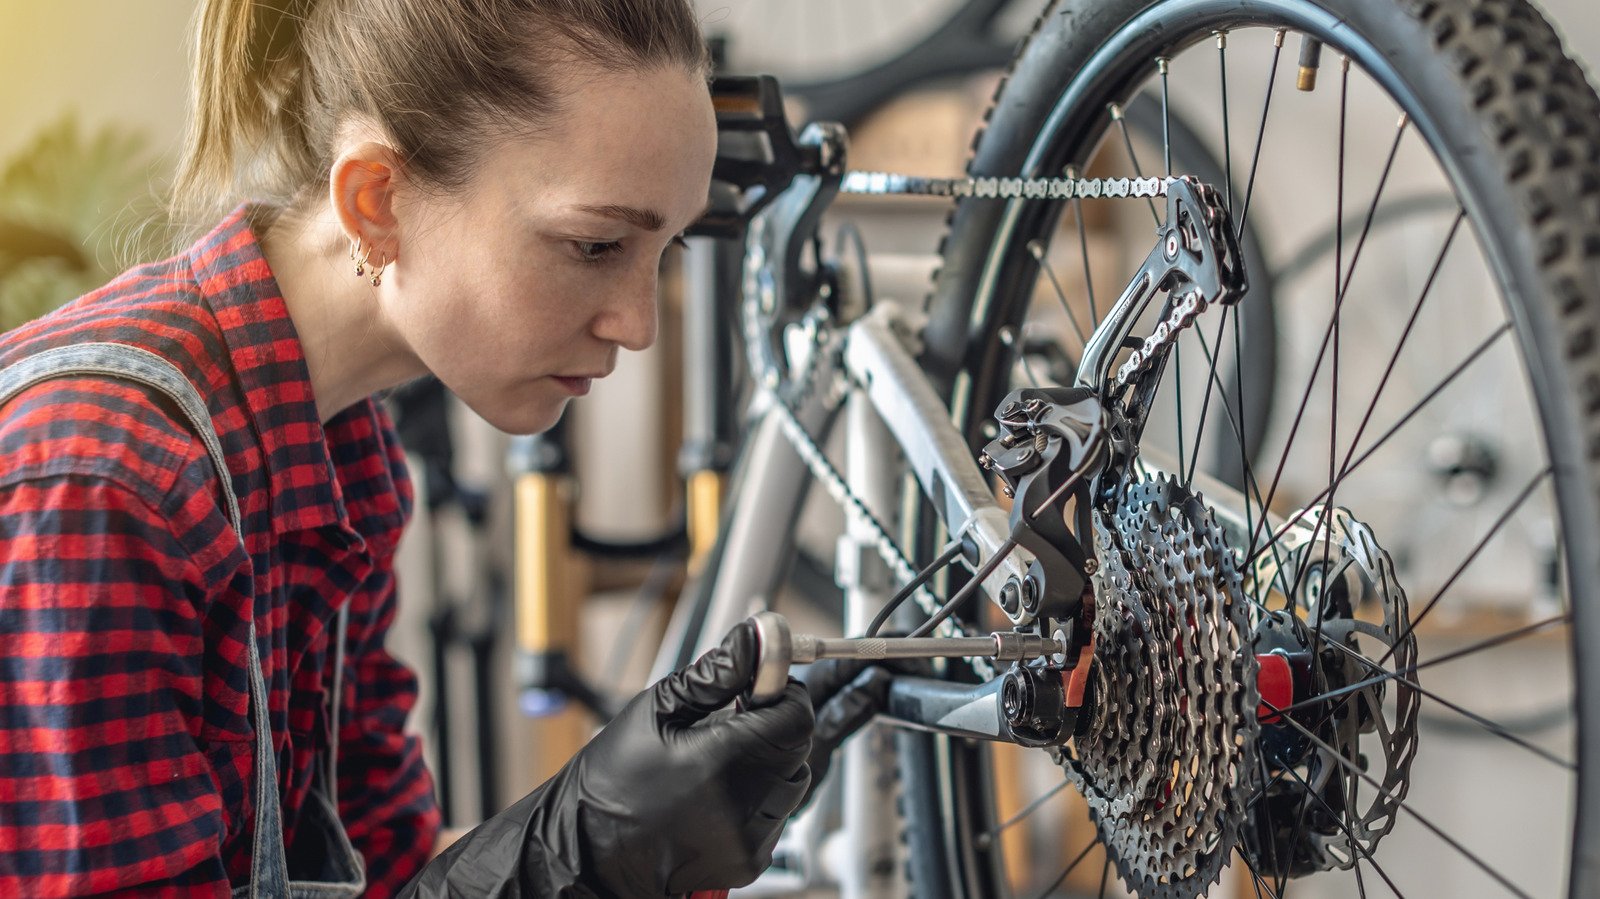
But the best thing about bicycles is that they are never repairable. With a little maintenance and upkeep, you can keep it on the road for decades and thousands of miles. Bike maintenance is also fun, even if you’re not the type of person who likes to get their hands greased. And it’s very easy to start doing bike maintenance on your own, all it requires is a well-designed repair tool kit and some good guides, whether they’re books or videos you find online.
Overall, you can build a comprehensive bicycle repair tool kit fairly inexpensively, and if you just want to start with the basics, it’s even cheaper. For beginners, the basics are enough. You’ll need a multi-tool, hex wrench set, tire levers, a tire pump, chain lube, and a patch kit. If you find your pump, wrench, and lever used, it will all cost you less than $100, maybe less than $50. If you want to take this kit on the road with you, you’ll also need a portable tire pump and a bag to put it in.
bike maintenance 101
The primary maintenance check you perform is called an M-Check, so named because it follows the shape of the capital letter M. Start at the front wheel, and inspect the axle, if it is loose tighten it with a hex wrench. Then check that your brakes and tires are in good condition. If your tires need air, fill them with a bike pump. You’ll find the tire manufacturer’s recommended pressure range printed on the sidewall of the tire.
At the top of the M is your handlebar. Make sure they aren’t loose or loose, and double-check that your brakes work when activated. Under the M, check your crank and pedals, tighten them with your wrench if necessary. Reach over to the saddle to check that it is properly tightened and pointing straight ahead. On the last step of the M, check that your gear is shifting properly and that your chain is lubricated, add oil if necessary. Finally, check the rear tire, just like you did the front tire.
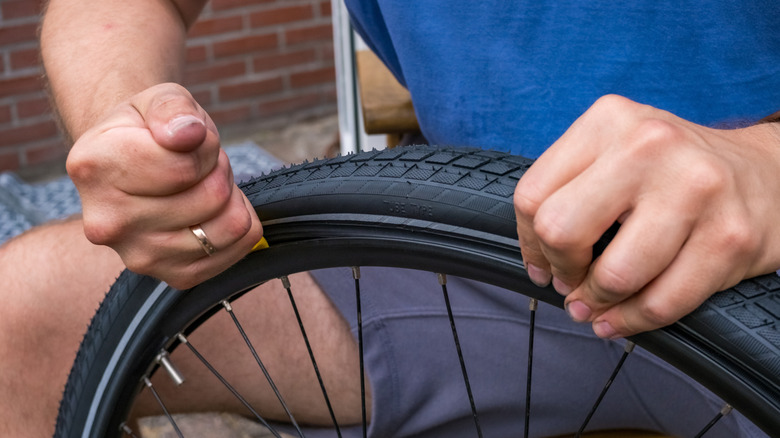
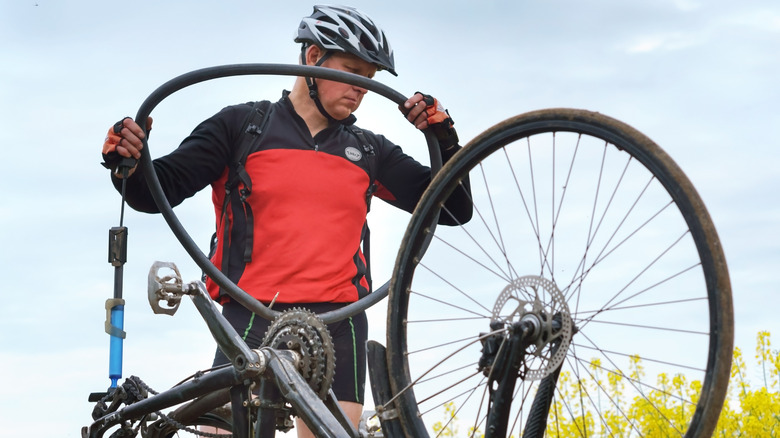
To fix a flat, use your tire lever to remove the tire. If there is a puncture in the inner tube that is not very close to the stem, you can save it using your patch kit. Inflate the tube and identify any leaks. Use the kit’s sandpaper to scratch the surface of the tube, which helps the patch stick better. Clean the area, then apply the adhesive or vulcanizing solution to an area larger than the patch. Then simply press the patch in place and let it set.
Finally, replace the tire by placing one sidewall on the inside of the rim, first placing the slightly inflated tube inside the tire valve, then using your tire lever to guide the other sidewall back inside the rim. The process of changing tires of e-bike is also similar.
Serious gear for advanced riders
Once you’re ready to move beyond the basics of repair, you’ll also want to expand your repair arsenal. Start with a good repair stand – trust me, your back and knees will thank you. Repair stands allow you to elevate your bike while performing maintenance, protecting it and making your life much easier. You will also need a chain tool to remove and install additional links, usually in the form of a chain breaker or chain pliers. A torque wrench is also good for tightening bolts quicker and more easily than a standard hex wrench.
If you use tubeless tires, a valve core wrench is important, allowing you to adjust your tires more easily. Are you planning on working on, cleaning, or replacing your cassette? Be sure to pick up a cassette locking wrench and a chain whip. The chain whip is there to hold your cassette in place so it won’t move around when you loosen its locking. Other good purchases include spoke wrenches or keys for attaching your wheels and cable cutters for removing and replacing steel brake cables.
For a bike repair kit on the go, you have plenty of options for what to take with you, depending on what you need. A portable tire pump is the first thing you should pack. After that, you should consider extra nuts and bolts, replacement chain links, extra brake and derailleur cables, and a chain tool in case something falls off. And packing duct tape never hurts. While you’re at it, you might want to pick up a bicycle rack for your car to make your life easier when you inevitably have to take your bike to the shop.